*This article may contain affiliate links. please check out my policy!
You don't have to miss out on this amazing dessert anymore! Thanks to an awesome plant-based ingredient that works just like gelatin, we're able to make a tasty brulee without eggs!
Creme Brulee is one of those desserts that you don't have often, but when you do... it feels like a rich, decadent dessert that you shouldn't be able to afford.
Not being able to consume eggs means you have to get creative! This brulee is:
- Egg-free
- Dairy-free
- Gluten-free
- Soy-free
- Requires no baking
Sounds too good to be true, huh? I'm not joking! Give it a try!
🥘Ingredients

Be sure to use regular granulated sugar, if you do not have any, try using a blender on cane sugar to make the granules smaller. Be careful you do not blend too far, you'll end up with powdered sugar and that can start a fire. I find the torch does not melt and burn the sugar as well as cane sugars.
Another option is to use a mortar and pestle to grind the sugar down a bit.
🔪Instructions
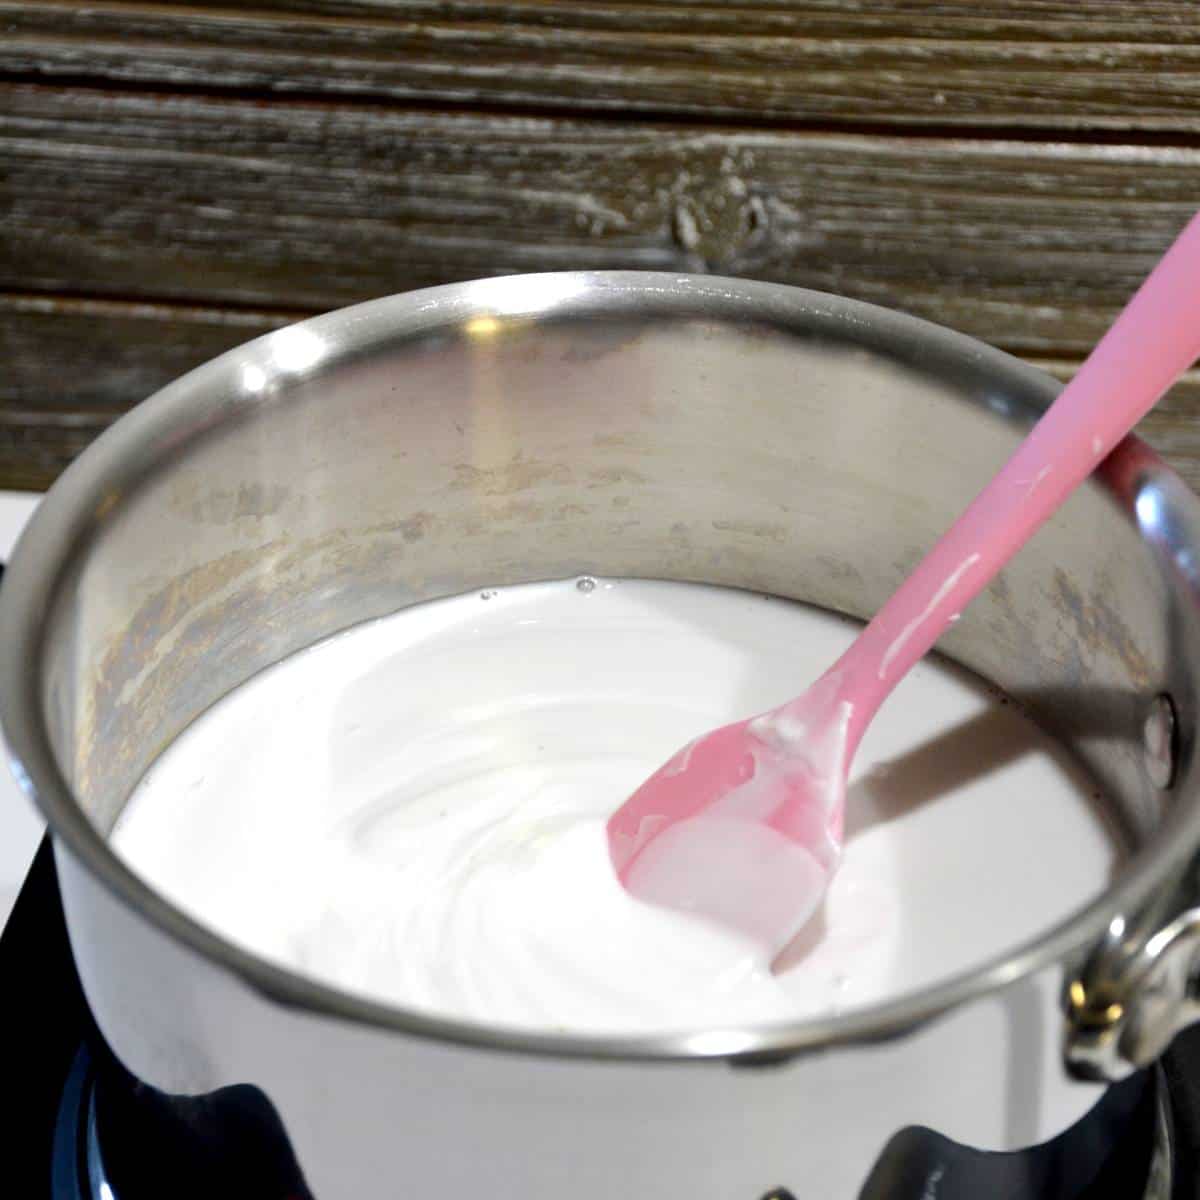
Step One - In a sauce pot, add milk and allow it to get hot, but do not let it boil. Keep the heat at a medium-low.

Step Two - Add in the matcha, maple syrup, and vanilla and whisk until the matcha is well dissolved.
Important: After the matcha has dissolved and you feel it is ready for the next step, be ready. Turn off the heat and add the agar agar, and whisk vigorously. Do not stop. The mixture will thicken just keep whisking until all is smooth, then move to the next step.
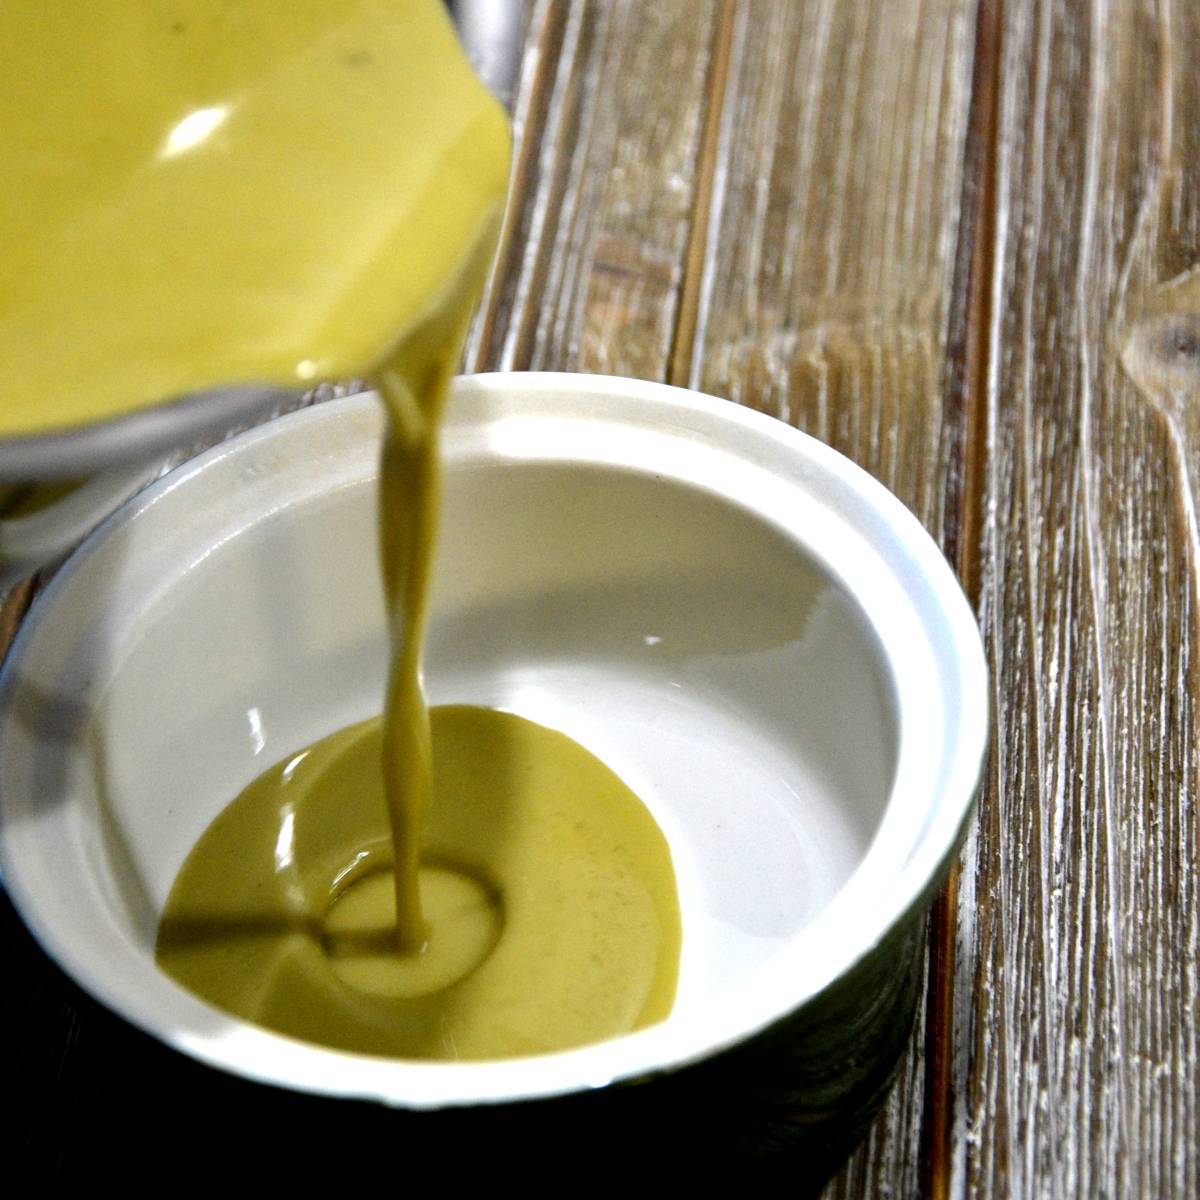
Step Three - Once your mixture is smooth, pour immediately into ramekins. Place the ramekins into the refrigerator until the liquid is set and solid (30 minutes to 1 hour).
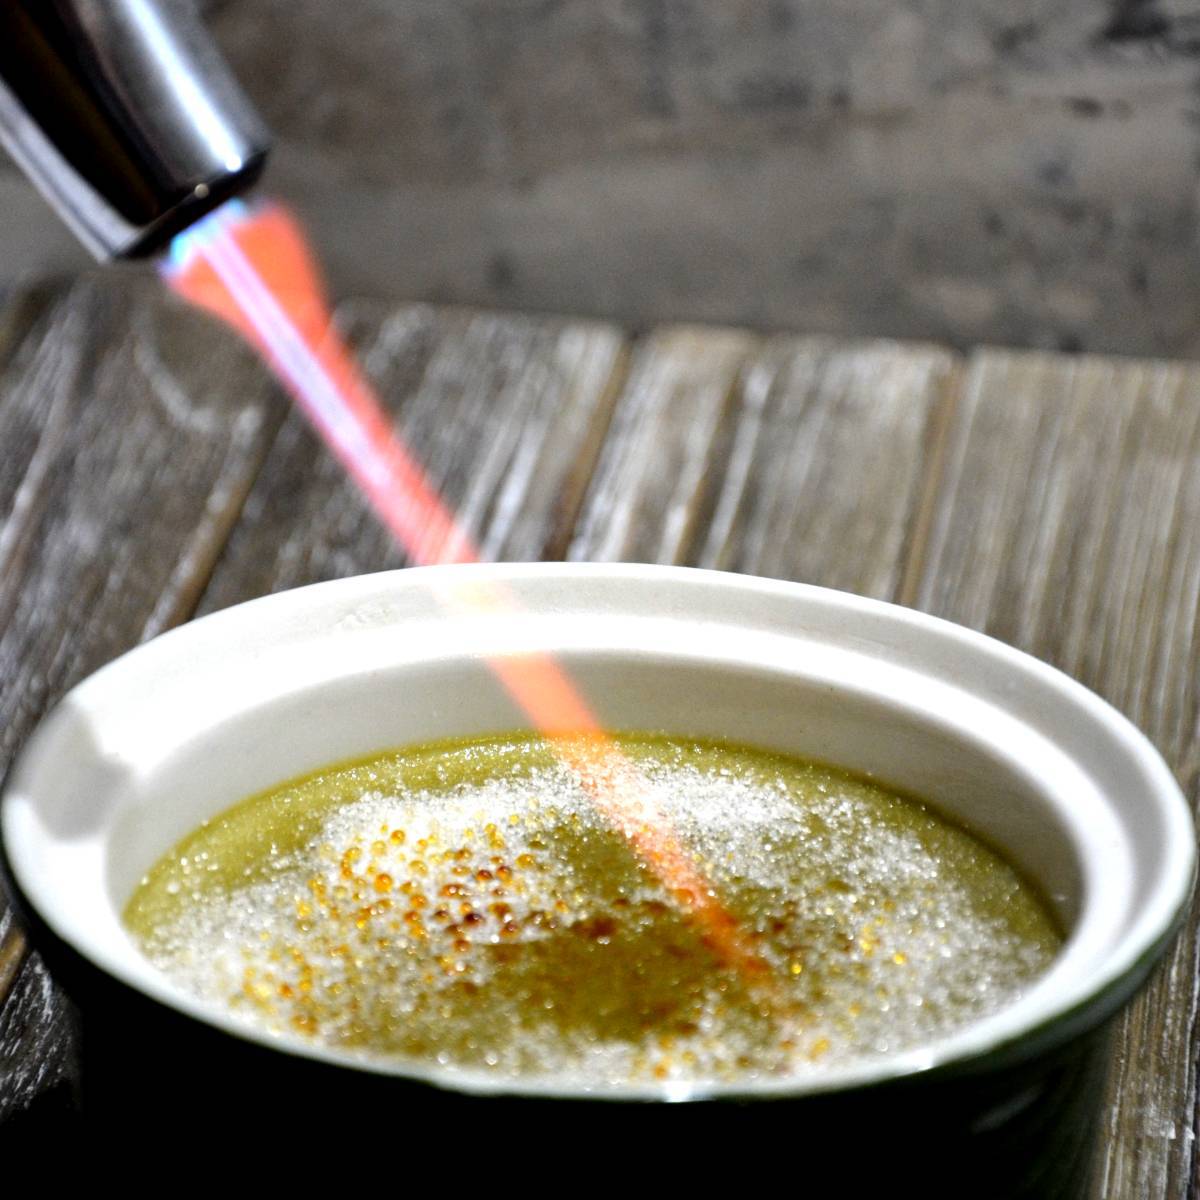
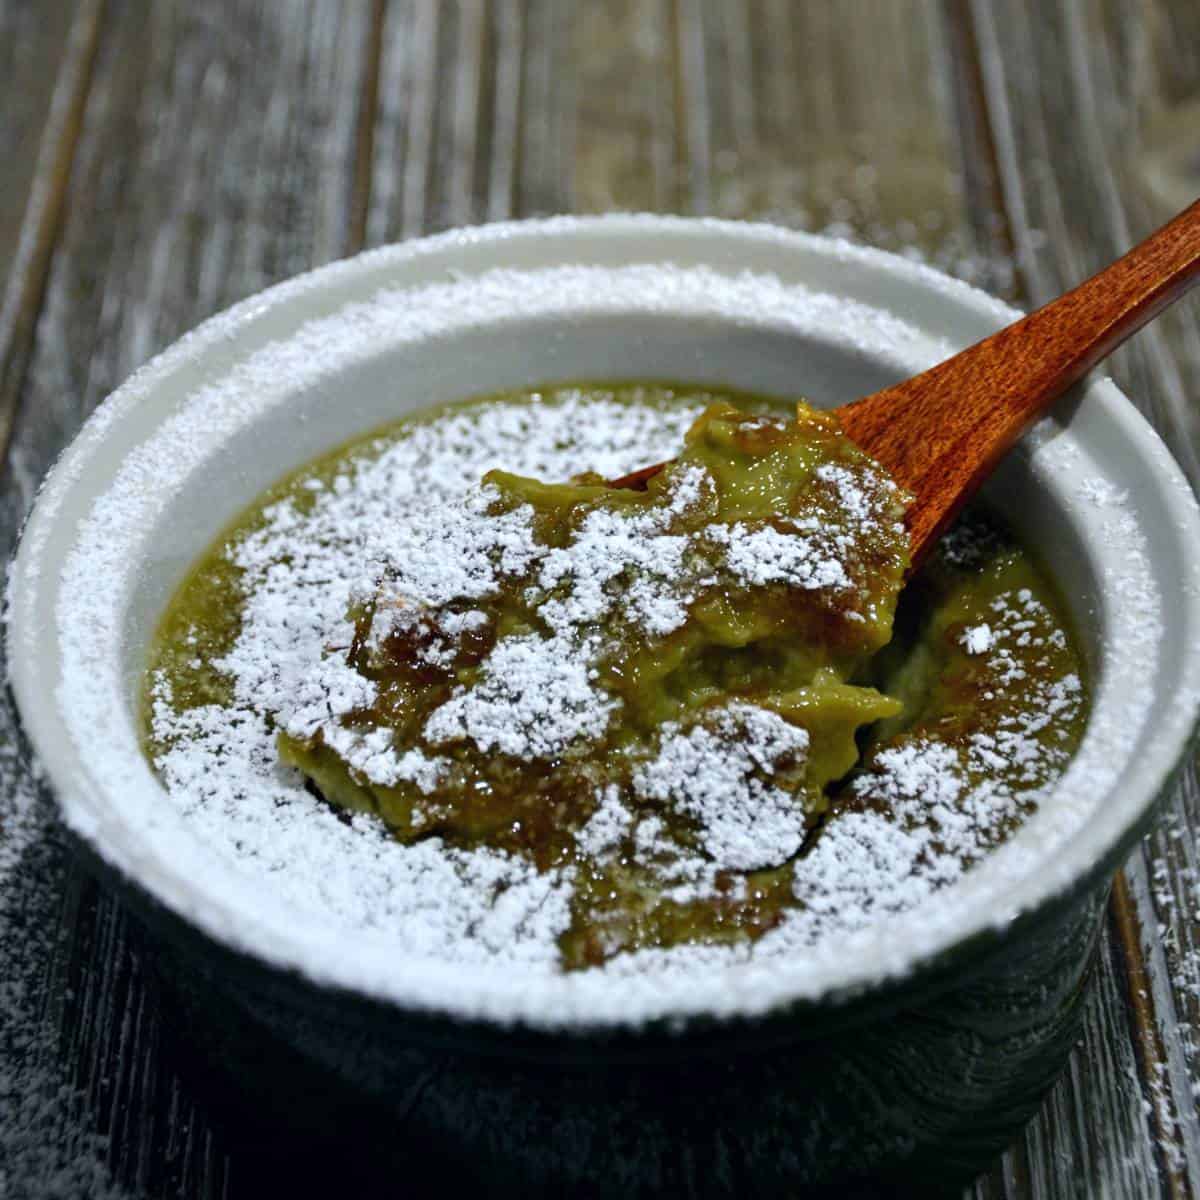
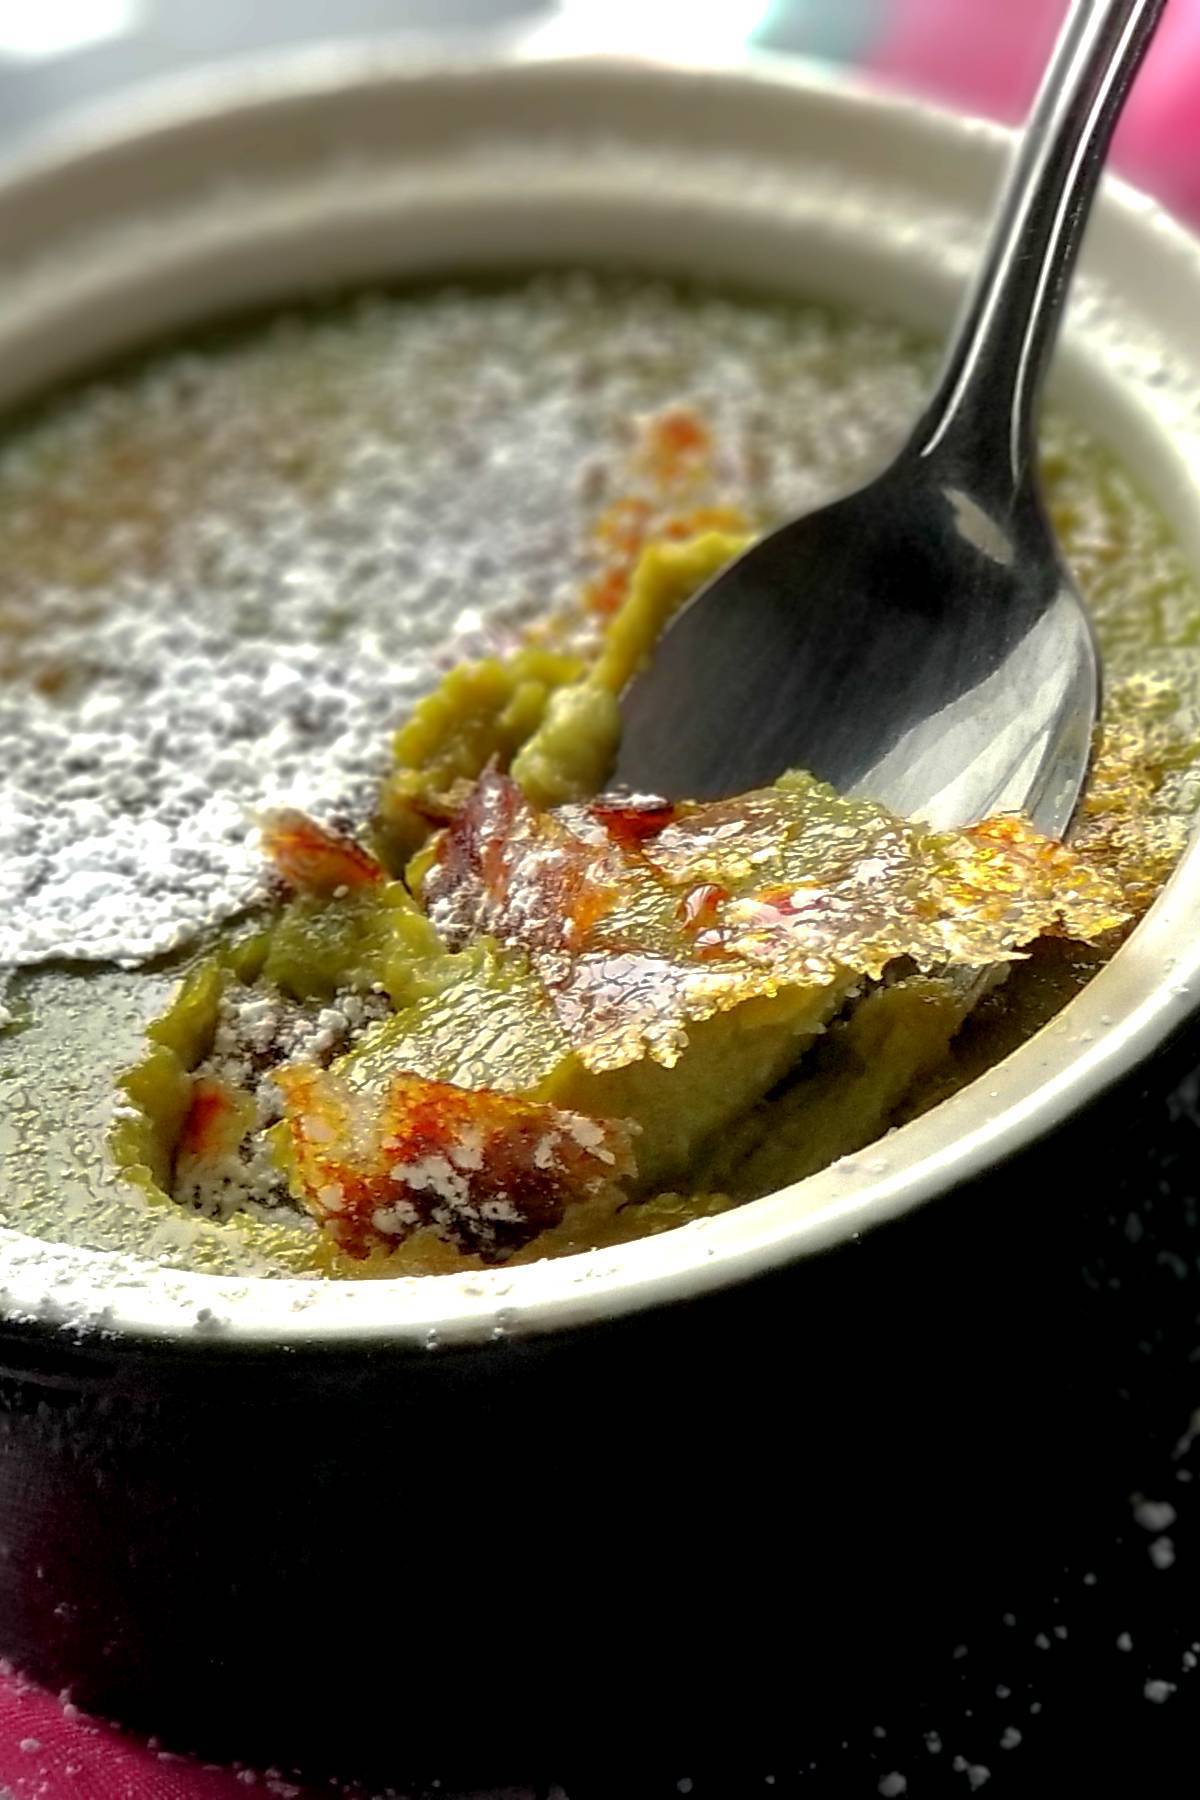
Step Four - Once the brulees are cold and set, sprinkle the top generously with granulated sugar, and torch the sugar to burn it and create a crispy topping.
👩🏻🍳First Time Torch Users
If you've never used a kitchen torch, it's easy to make mistakes here. I am including a link to a video showing you just how to do this!

⏲️Do I need a Torch?
It certainly helps to have a torch for this recipe, however, there is a couple of things you could try if you do not have a torch.
- If you have a gas stove, you could heat up a spoon with the flame, then touch the back of the spoon to the sugar on top of the creme brulee and burn the sugar that way. This will take a bit longer obviously, but it's an option! Another option is using a lighter and hoping no one sees you doing that, haha.
- You could also try using the stove broiler. I have not tried this option so I can not claim victory here, but it's the only other open flame option I can think of.
🍱Storage
These brulees store in the refrigerator for up to 3 days before they start losing flavor. Do not add sugar topping until ready to serve. Do not freeze, do not re-heat.
❓FAQ
Yes and no. I'd say traditional crème brûlée is a bit more unhealthy from the ingredients it uses whereas this recipe uses a bit less sugar than traditional. But of course, almost anything sweet is inherently unhealthy for you. I am not a health professional and you should always check with your doctor/HP.
It will be tedious, but you can! Just heat up a spoon with an open flame and touch the back of the spoon to the sugar to burn it!
Traditional crème brûlée takes around 2 hours to make entirely with the tempering and baking. But this vegan crème brûlée uses a one-pot, pour, and refrigerate method that takes less than an hour!
Check out some other delicious desserts!


If you try the recipe, don't forget to rate it and leave a comment! Thank you so much!
📖 Recipe

Equipment
-
1 saucepan
-
2 ceramic ramekins
-
1 food scale
-
1 culinary torch
-
1 Whisk
-
1 Spatula or Spoon
Ingredients
- 300 mililiters coconut milk from can
- ¼ cup maple syrup
- 1 teaspoon agar agar powder
- 1 teaspoon matcha powder
- ½ teaspoon vanilla extract
- 1 Tablespoon granulated sugar
Instructions
-
In a small sauce pot, add in the coconut milk and allow to heat up on medium-low heat. You do not want this to boil.300 mililiters coconut milk from can
-
When the coconut milk is heated, add the match and whisk until it is fully dissolved and no lumps remain.1 teaspoon matcha powder
-
Then, add vanilla and maple syrup and mix again.½ teaspoon vanilla extract,¼ cup maple syrup
-
Next, add in the agar agar. You will want to stir the entire time and whisk until all is dissolved well. You may notice some thickening start to happen.1 teaspoon agar agar powder
-
Once it is dissolved and well mixed, immediately pour the liquid into the ramekins.
-
Place into refrigerator for 30 minutes to an hour to allow it to set.
-
Once set, sprinkle a tablespoon of sugar on top evenly around, and take the torch to burn the sugar. Be careful with this as it will burn easily. You only want it to brown.1 Tablespoon granulated sugar
Notes
- Coconut milk substitute - You can use any other plant milk that you'd like, I'd personally recommend oat, cashew, or soy. Be aware you may need to add a tiny bit more agar as those options are not as thick.
- No regular sugar? - If you only have cane sugar (or thicker sugars in general), use a blender to grind the granules down further. Bigger granules are hard to melt under a torch and will not put out the same results.
- For quicker cooling - Use shorter and wider ramekins.
- No culinary torch? - Use the back of a spoon heated on an open flame. Gas stove or lighter should work. Then press the back of the spoon to the sugar coating to burn it. This option will take a bit longer.
- Sugar substitute? - I can't personally recommend sugar substitutes here as they may change the flavor. I also do not know how well they burn. If you do try this, please let me know!
- Storage - You can store these in the refrigerator for up to 3 days. Do not freeze, do not re-heat.
This recipe belongs to Planty Of Eats
Nutrition
This post was originally published on June 23, 2021 but has been updated on November 14, 2022.
Bree
Thank you!!!